Adding Google Fonts to your Ghost theme

In this tutorial we'll learn how to add any Google Font to your Ghost site. This will allow you to use any of their 1000+ fonts for your entire site, or specific parts of it.
To do this, we'll be using Code Injection which you'll find under Settings > Code Injection. Next, we'll need to find the Google Font we'd like to use. Once you've found one, select the style and copy the <link> snippet.
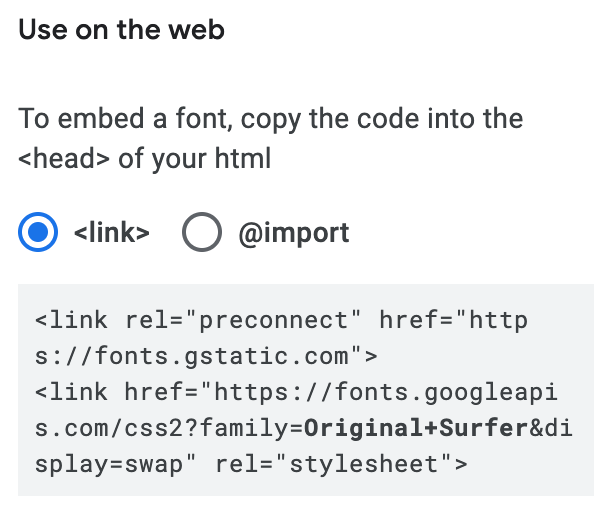
Paste this snippet in the Site Header under Code Injection.

We're now ready to use this particular font. To apply it across your entire site, you could use the following snippet:
<style>
  body { font-family: 'Original Surfer', sans-serif; }
</style>
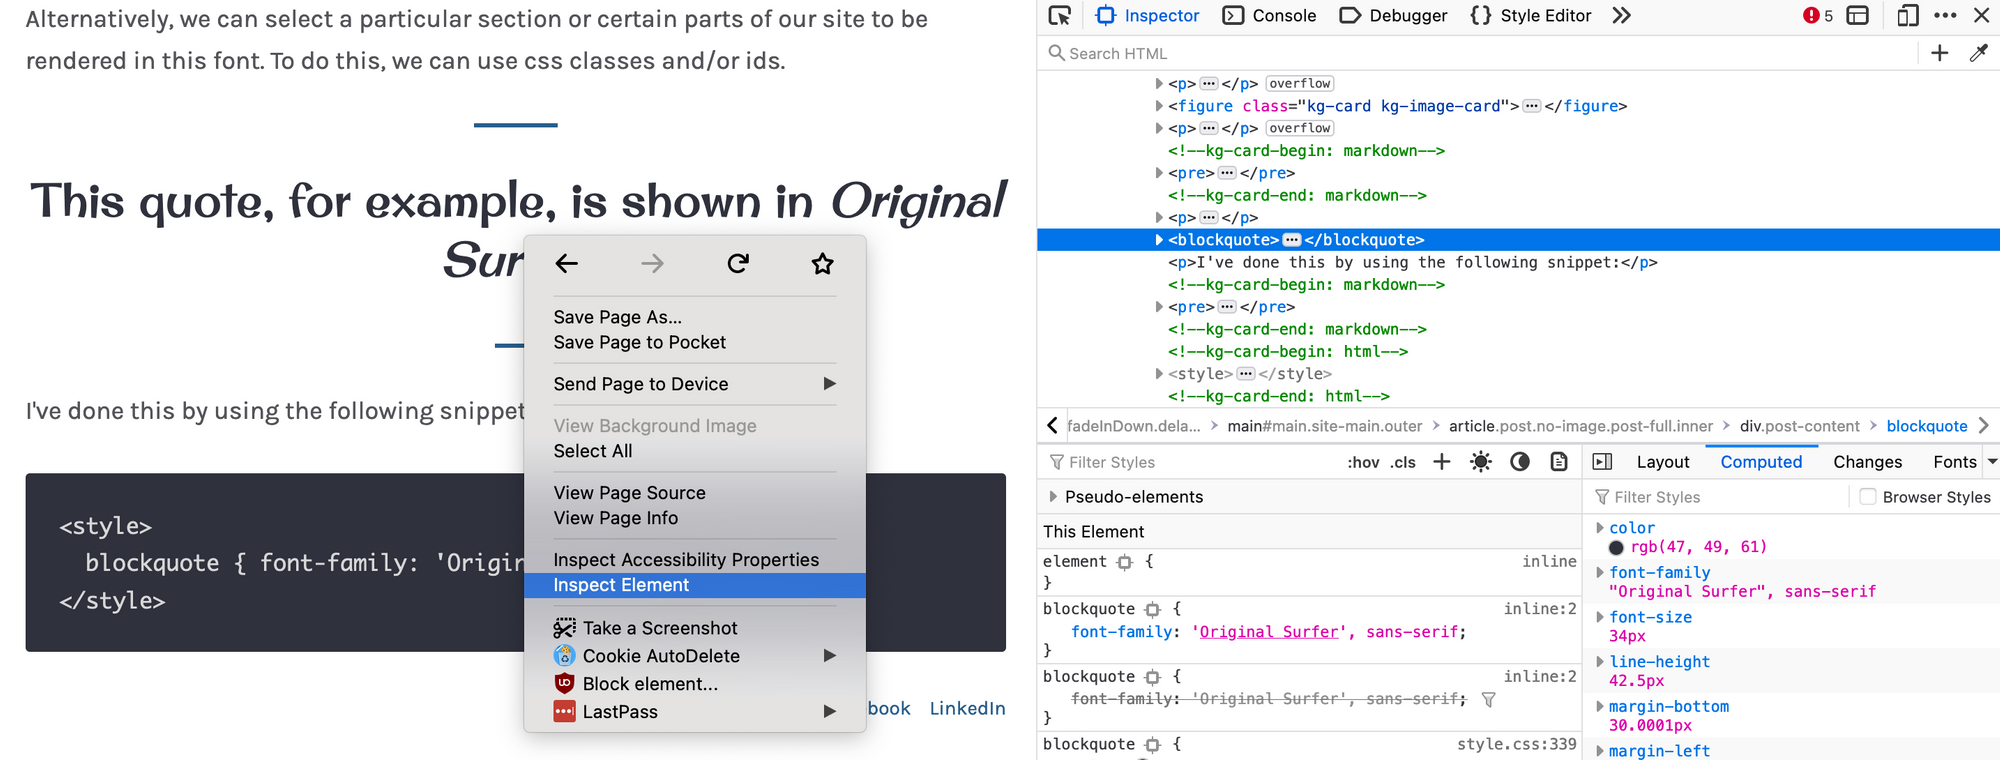
Alternatively, we can select a particular section or certain parts of our site to be rendered in this font. To do this, we can use css classes and/or ids.
This quote, for example, is shown in Original Surfer.
I've done this by using the following snippet:
<style>
  blockquote { font-family: 'Original Surfer', sans-serif; }
</style>
You can find the class of any element on your site by using the Inspect feature of your browser's Developer Tools. Simply right-click on your page and click Inspect or Inspect Element. This will open your Developer Tools, from where you can find the name of the class for which you'd like to change the font.
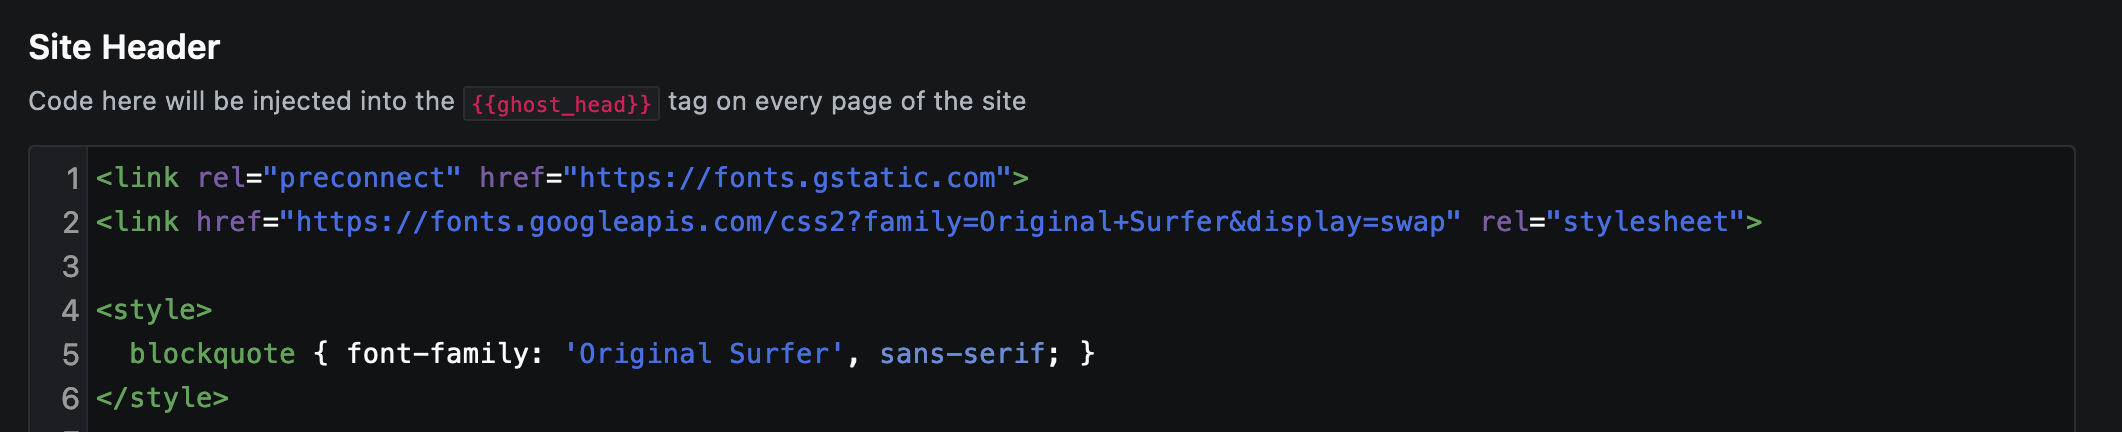
To achieve the same effect that's shown on this post, the complete Code Injection now look like this
Summary
You're now ready to customize any Ghost theme with the Google Font of your choosing by injecting code into the header of your site. Experiment and enjoy!